If you want to swap your Dell monitor stand for an aftermarket monitor arm, you first have to remove the factory monitor stand. This is easier said than done for some Dell monitors.
Monitor mounting arms are a great addition to any workspace. They give you more desk space, can be more ergonomic, and provide a huge boost in aesthetics.

To use an aftermarket monitor mount, first check that your Dell monitor has VESA mounting holes. If you’re not familiar with what VESA mounting is, check out our article on VESA mounting 101.
If your Dell monitor does not have VESA mounting, check out our article on mounting monitors without VESA holes.
Dell has a few older monitors with monitor stands that are very tricky to remove. Recently, they have been getting better by mostly using quick-release type factory stands.
Either way, today we are going to help you remove your Dell monitor stand so you can start using an aftermarket monitor arm.
First, we’re going to start with the general approach that works with most Dell monitors. Then, we’re going to dive a little deeper so you can find the exact monitor stand removal steps for your specific monitor.
These instructions come straight from the experts at Dell. This way you can be confident when going about your monitor stand removal.
Stand Removal Steps For Most Dell Monitors
Step 1 – Turn off and unplug power from your monitor.
Step 2 – Place a towel, soft cloth, or cushion on a flat surface. This will protect the monitor.
Step 3 – Place the monitor face down on the towel or cushion, exposing the backside.
Step 4 – Adjust the monitor stand away from the VESA pattern location. This gives us the best access.
Step 5 – Locate the quick-release button on the backside of the monitor if applicable.
This last step is where different monitors will require different solutions. If there is no quick-release button in sight, you may need to remove the square panel on the monitor.
Once you remove the square panel, you will need a small tool to access the lock-release button that is located right between the monitor stand and the monitor itself.
Here’s a video illustrating one monitor using the above method to remove the stand.
Some Dell monitors will not have a removable square panel, and you simply need to use a small tool to access the hidden lock-release button.
You will have to hold the button down as you pull the stand away from your monitor. It may help to have a second person hold down the monitor. That way you can focus on pushing down the button and pulling the stand away from the monitor.
Viola! That’s it.
Those are the general instructions that will work for most Dell models.
The Stand Removal Method For Your Exact Dell Monitor
Now if any of those steps were not clear and did not apply to your specific monitor, don’t worry. We will show you how to get the actual instructions for your exact monitor from the folks at Dell.
Here are the steps.
Step 1: Identify Dell Monitor Model Number
The first step here is to figure out the model number of your Dell monitor. This will help us quickly find the right instructions on monitor removal.
The model number will be shown on the backside of your monitor. Look for the block of small text.
Here is a little illustration of where you would find the model number. It should be a combination of numbers and letters.

Step 2: Download Your Manual From Dell
Now that you have your model number, we can go to Dell’s product manual finder. Then you should see a window titled “Identify Your Product”. Type in your model number here.

You should see your model automatically drop down when the model is recognized. Select the matching model number from the drop-down menu.
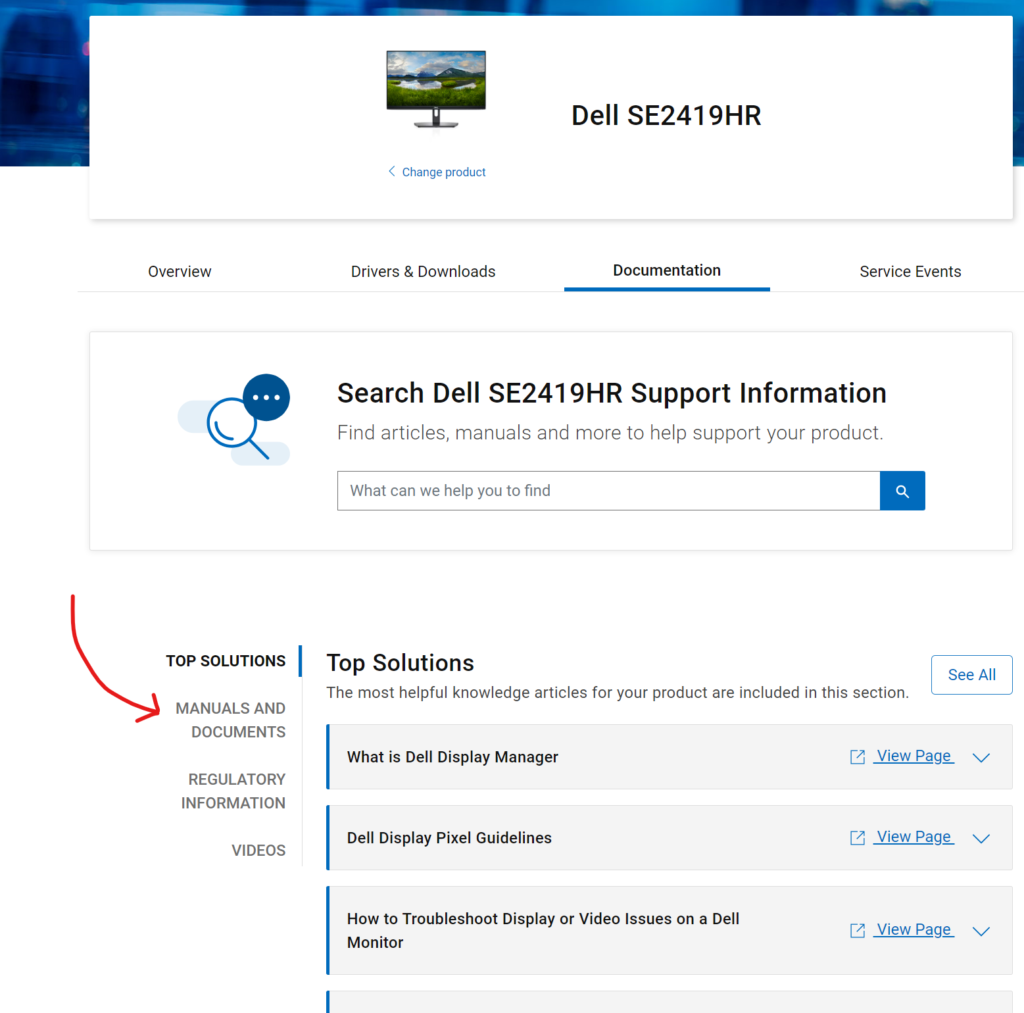
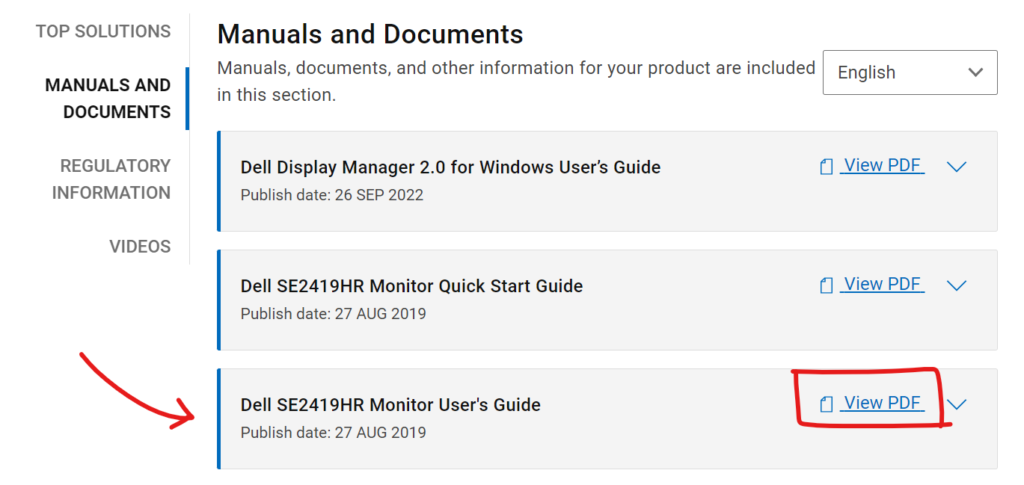
Now you should see a bunch of supportive info about your monitor. Click on “Manuals and Documents”. Then you should see your monitor’s user guide listed!
Click on the “View PDF” link on the right side of the box.
Step 3: Find the Stand Removal Section
The last step here is to look for the stand removal step in the table of contents. On page 3 of the manual from the above example, it shows how to remove the stand on page 20.

Now you should have a perfect set of instructions on how to remove the monitor stand on your exact Dell monitor.

Stand Removal Guides For Common Dell Monitors
- DELL S2218H – Page 15
- DELL P2419H – Page 33
- DELL E2221HN – Page 20
- DELL E2016H – Page 24
- DELL SE2722H – Page 31
- DELL SE2417HGX – Page 14
- DELL ST2420L – Page 20
- DELL S2721DS – Page 38